Overview
An account filter is used to select which departments, accounts, lines, revenue codes, columns, etc. that a reclass or adjustment is going to be applied to. An account filter should be limited to the smallest pool possible to reflect the most accurate reclass/adjustment.
Account Filters
|
To add a New Filter: |
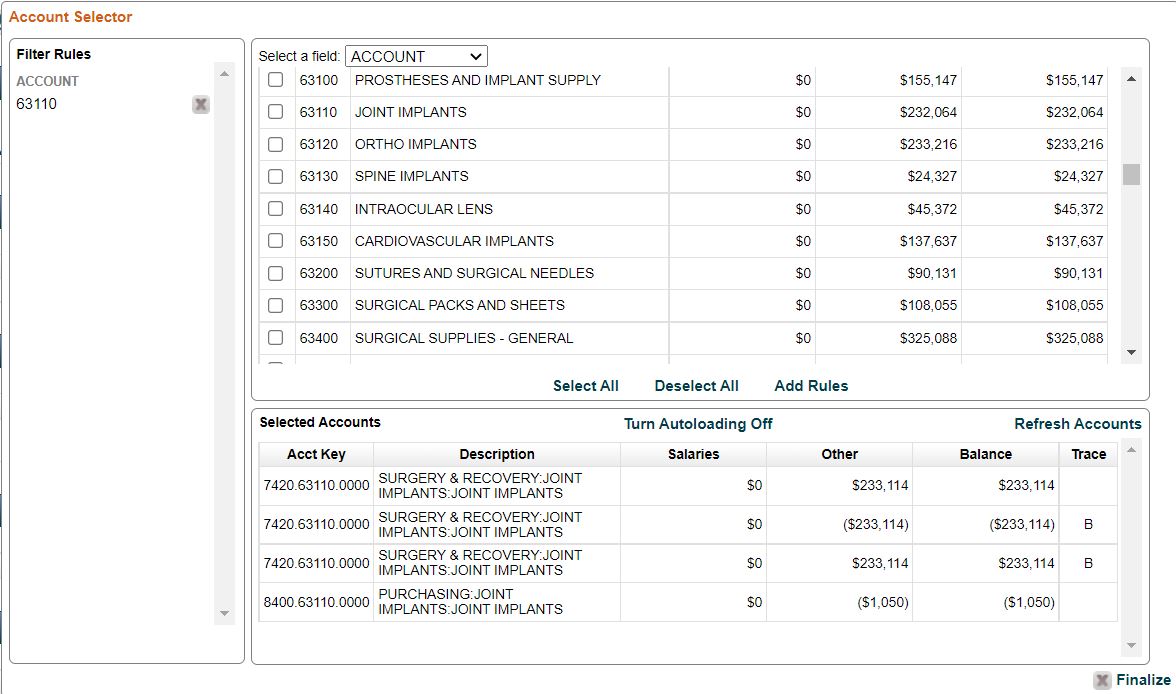
Click the For example, for a reclass using Account level detail from the GL, the user would select Account from the field dropdown. To select an account, click the box to the left of the account field, which will present a blue check mark meaning the account has been selected.
To add the account to the filter select the There is also the option to |
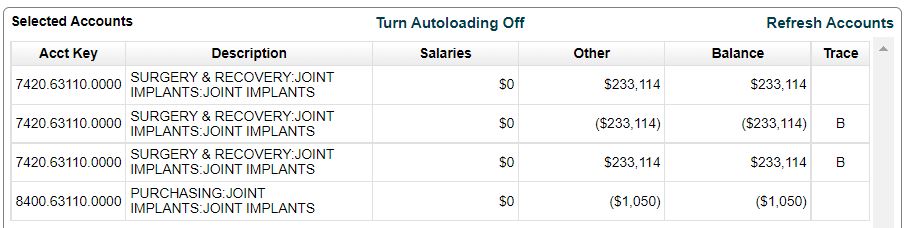
| To Review Filtered Accounts: |
To review the accounts that have been added to the Filter Rules, click on the The user can also click Turn Autoloading Off to hide the summary of filtered accounts. |
| To Finalize a Filter: |
After the filter has been reviewed for accuracy, click the Finalize button on the bottom right corner of the Account Selector screen. |
| To View Accounts: |
Click the View Accounts |
| To View/Edit a filter: |
Click the View/Edit Filter |
| To Delete a Filter: |
Click the "X" button on the righthand side of the filter to delete a filter that has already been created.
|
| To reapply all filters for the reclass: |
Click the It may be inconvenient to reload the selected accounts automatically depending on the size of the dataset and browser being used. |

Additional Filter Notes
It is very important to limit the filter to specific data level detail that relates to each workpaper. This will ensure accuracy for each workpaper, and will minimize the amount of processing within Absolute that large filters can create.
The filters for Worksheet C allow the user to choose between the uploaded Revenue and Usage and the General Ledger files. Select the Add Filter button, and at the top of the Account Selector viewer, the option is given to select the data source for the revenue reclass.
